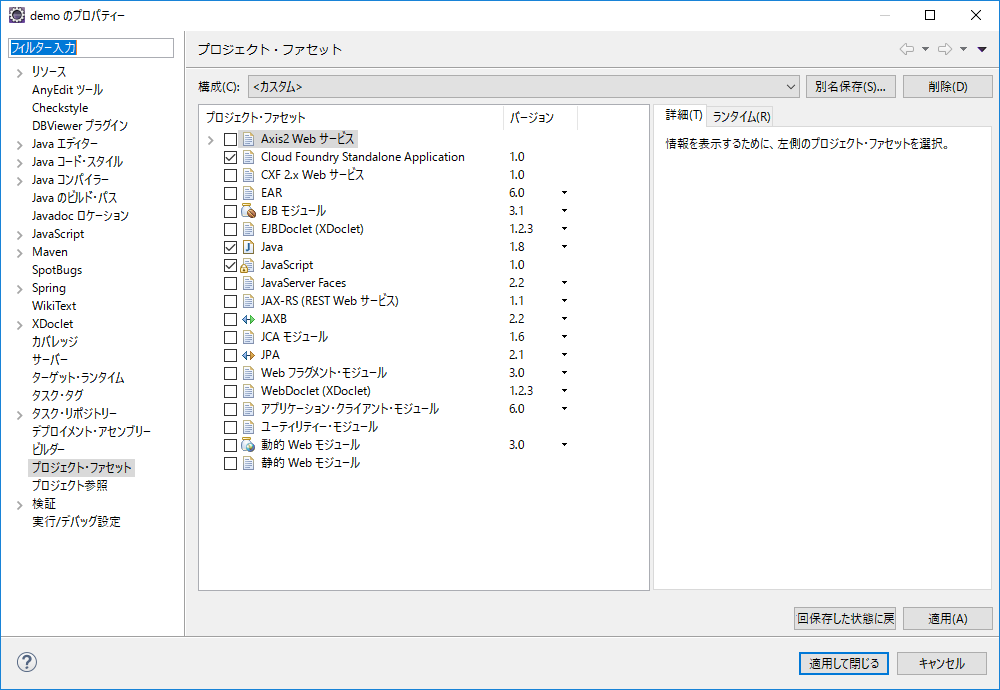
テンプレートエンジンのThymeleafと、HSQLDBデータベースを使うためにpom.xmlに設定を追加する。
<?xml version="1.0" encoding="UTF-8"?>
<project xmlns="http://maven.apache.org/POM/4.0.0" xmlns:xsi="http://www.w3.org/2001/XMLSchema-instance"
	xsi:schemaLocation="http://maven.apache.org/POM/4.0.0 https://maven.apache.org/xsd/maven-4.0.0.xsd">
	<modelVersion>4.0.0</modelVersion>
	<parent>
		<groupId>org.springframework.boot</groupId>
		<artifactId>spring-boot-starter-parent</artifactId>
		<version>2.2.1.RELEASE</version>
		<relativePath/> <!-- lookup parent from repository -->
	</parent>
	<groupId>com.example</groupId>
	<artifactId>demo</artifactId>
	<version>0.0.1-SNAPSHOT</version>
	<name>demo</name>
	<description>Demo project for Spring Boot</description>

	<properties>
		<java.version>1.8</java.version>
	</properties>

	<dependencies>
		<dependency>
			<groupId>org.springframework.boot</groupId>
			<artifactId>spring-boot-starter-web</artifactId>
		</dependency>

		<dependency>
			<groupId>org.springframework.boot</groupId>
			<artifactId>spring-boot-starter-test</artifactId>
			<scope>test</scope>
			<exclusions>
				<exclusion>
					<groupId>org.junit.vintage</groupId>
					<artifactId>junit-vintage-engine</artifactId>
				</exclusion>
			</exclusions>
		</dependency>

		<dependency>
			<groupId>org.springframework.boot</groupId>
			<artifactId>spring-boot-starter-thymeleaf</artifactId>
		</dependency>

		<dependency>
			<groupId>org.springframework.boot</groupId>
			<artifactId>spring-boot-starter-data-jpa</artifactId>
		</dependency>

		<dependency>
			<groupId>org.hsqldb</groupId>
			<artifactId>hsqldb</artifactId>
		</dependency>

	</dependencies>

	<build>
		<plugins>
			<plugin>
				<groupId>org.springframework.boot</groupId>
				<artifactId>spring-boot-maven-plugin</artifactId>
			</plugin>
		</plugins>
	</build>

</project>
入力フォームを使ってデータのやりとりを行う
form1.html
<!DOCTYPE html>
<html xmlns:th="http://www.thymeleaf.org">
<head>
<meta charset="UTF-8">
<title>入力フォーム</title>
</head>
<body>

<h1>form1</h1>
<p th:text="${msg}"></p>
<form action="/form1" method="post">
	おなまえ:<input type="text" name="name" />
	<br />
	評価:<input type="text" name="eval" />
	<input type="submit" value="Click!" />
</form>

</body>
</html>
IndexController.java に form1 へのリクエストを処理するコードを追加する。
package com.example.demo;

import org.springframework.stereotype.Controller;
import org.springframework.web.bind.annotation.RequestMapping;
import org.springframework.web.bind.annotation.RequestMethod;
import org.springframework.web.bind.annotation.RequestParam;
import org.springframework.web.servlet.ModelAndView;

@Controller
public class IndexConroller {
	@RequestMapping("/test")
	public ModelAndView index(ModelAndView model) {
		model.setViewName("index");
		model.addObject("msg", "サーバーで設定したメッセージですよ");
		return model;
	}

	@RequestMapping(value="/form1", method=RequestMethod.GET)
	public ModelAndView form(ModelAndView model) {
		model.setViewName("form1");
		return model;
	}

	@RequestMapping(value="/form1", method=RequestMethod.POST)
	public ModelAndView form1(ModelAndView model,
			@RequestParam("name") String name,
			@RequestParam("eval") String eval) {
		model.setViewName("form1");
		int percent = (name + eval).hashCode() % 101;
		percent = Math.abs(percent);
		String result = name + " さんの " + eval + " 度は" + percent + "%です。";
		model.addObject("msg", result);
		return model;
	}
}
th:each を使って複数の要素を表示する
コントローラにListを用意して過去の内容を保存できるようにする。
また、Listをテンプレートに渡すようにする。
package com.example.demo;

import java.util.ArrayList;
import java.util.List;

import org.springframework.stereotype.Controller;
import org.springframework.web.bind.annotation.RequestMapping;
import org.springframework.web.bind.annotation.RequestMethod;
import org.springframework.web.bind.annotation.RequestParam;
import org.springframework.web.servlet.ModelAndView;

@Controller
public class IndexConroller {
	private List<String> list = new ArrayList<>();

	@RequestMapping("/test")
	public ModelAndView index(ModelAndView model) {
		model.setViewName("index");
		model.addObject("msg", "サーバーで設定したメッセージですよ");
		return model;
	}

	@RequestMapping(value="/form1", method=RequestMethod.GET)
	public ModelAndView form(ModelAndView model) {
		model.setViewName("form1");
		return model;
	}

	@RequestMapping(value="/form1", method=RequestMethod.POST)
	public ModelAndView form1(ModelAndView model,
			@RequestParam("name") String name,
			@RequestParam("eval") String eval) {
		model.setViewName("form1");
		int percent = (name + eval).hashCode() % 101;
		percent = Math.abs(percent);
		String result = name + " さんの " + eval + " 度は" + percent + "%です。";
		list.add(result);
		model.addObject("msg", result);
		model.addObject("list", list);
		return model;
	}
}
テンプレートに th:each を追加して複数の要素を表示する。
<!DOCTYPE html>
<html xmlns:th="http://www.thymeleaf.org">
<head>
<meta charset="UTF-8">
<title>入力フォーム</title>
</head>
<body>

<h1>form1</h1>
<p th:text="${msg}"></p>
<form action="/form1" method="post">
	おなまえ:<input type="text" name="name" />
	<br />
	評価:<input type="text" name="eval" />
	<input type="submit" value="Click!" />
</form>

<hr />

<table>
  <tr th:each="obj : ${list}">
    <td th:text="${obj}"></td>
  </tr>
</table>


</body>
</html>
診断を追加してみる
IndexControllerの追加
	@RequestMapping(value="/form2", method=RequestMethod.GET)
	public ModelAndView form2(ModelAndView model) {
		model.setViewName("form2");
		return model;
	}

	@RequestMapping(value="/form2", method=RequestMethod.POST)
	public ModelAndView result(ModelAndView model,
			@RequestParam("name") String name) {
		String[] s = {"優しさ", "冷たさ", "面白さ", "熱血さ", "冷静さ",
					  "真面目さ", "可愛さ", "素直さ", "明るさ", "責任感" };
		StringBuilder sb = new StringBuilder();
		sb.append(name).append(" さん。。。").append("<br />");
		for (String t : s) {
			int percent = (name + t).hashCode() % 101;
			percent = Math.abs(percent);
			sb.append(t).append(" ... ");
			sb.append(percent).append("%").append("<br />");
		}
		model.addObject("msg", sb.toString());
		model.setViewName("form2");
		return model;
	}
form2.html
<!DOCTYPE html>
<html xmlns:th="http://www.thymeleaf.org">
<head>
<meta charset="UTF-8">
<title>入力フォーム</title>
</head>
<body>

<h1>form2</h1>
<form action="/form2" method="post">
	おなまえ:<input type="text" name="name" />
	<br />
	<input type="submit" value="診断" />
</form>

<hr />
<p th:utext="${msg}"></p>

</body>
</html>
